Enough of the blurb: this week, we made glitter shapes. Maybe, a few of you might like to join us, virtually. Any feedback would be much appreciated.
Last night I did the preparation. You'll need some construction paper, shapes to trace around, scissors and a husband who doesn't mind cutting out while he is watching King Kong. (Thanks S). Why the Christmas shapes? It is going to take me 3 1/2 months to get organised. Also my favourite Christmas decorations that Donnie has are the ones made by Rob and I while we were in Kindy.

Supplies you will need. Those lovingly cut out shapes (once again thanks S), glue sticks, glitter glue (optional), glitter, vinyl tablecloth (optional but I find the static on the vinyl stops a lot of that glitter getting on the floor) and a shoe box (not pictured). I highly recommend using a shoe box for this activity as it contains the glitter, you can control how much goes on the preglued shape and there isn't as much excess glitter.

Next is CT's favourite part, she gets to play with the glue stick. I plonked a shape in front of her, as she tends to go in a zone with glue sticks.
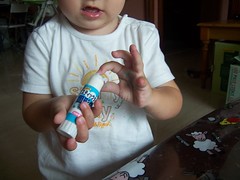
The aim is to get glue on the shape, today this was our preferred method of transfer. What ever floats your boat, CT.
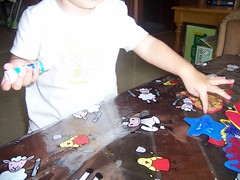
Once the shape has some glue on it (the younger they are the sooner they seem to lose interest in the sticking bit), show them the shoe box, the glitter, choose a colour together (ha), fight over who is going to pour the glitter in (optional but likely with this dubious duo)

and then pop the shape in,
let them have a good shake (lid on is better but I wanted the photo, you don't really want glitter all over the place),
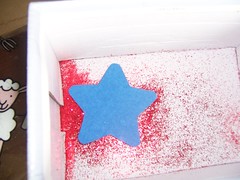
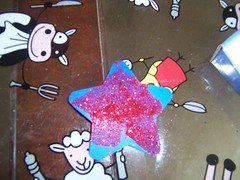
and shake the excess glitter off (if you are allowed) and you should end up with something like this:
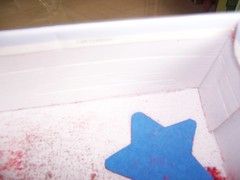
Here are a few more that took a few hours to make (with great company).

Next time I do this activity, I am going to make sure the outside of the box is contacted, glitter can escape from cracks and crevices. Not that I had much of a mess, but man this glitter is worse than sand...

4 comments:
Hi Anna! Great idea to catch the glitter. So cute. I wanted to see if you were still planning on sending a Summer Sac Swap? I'm your partner for that swap & I 've had 2 swap partners not send me anything this summer. Just wanted to make sure before I sent one. Thank you!
Angela Harris
YourAnigl@Hotmail.com
great tutorial! i've always had a phobia about getting glitter everywhere, but by putting it into a box it stays somewhat in one spot. how fun!
That was so weird I asked you about it thinking you were my partner and the other person sent me one today. I was suprised but I get it. Sorry about the confusion. I will be sending yours soon. I'm wondering how much it cost to ship to singapore...I'll have to research that. Still can't wait for you to get yours. You like bright colors rather than pastels right?
Fun project! I have an apple cookie cutter just waiting for a project.
Post a Comment